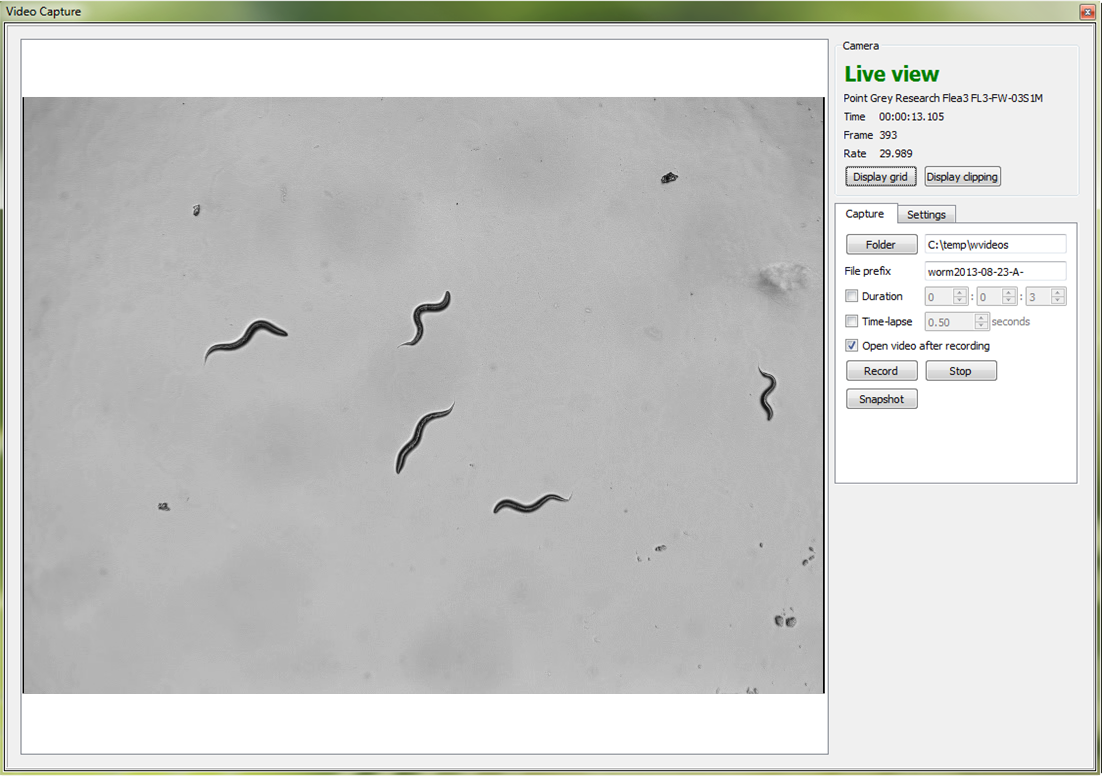
Capture a video
Remember to prepare your specimens before recording.
Procedure
- Click the icon
 . WormLab displays the Video Capture dialog box along with the current status (e.g., Live view).
- The Capture tab is selected.
- Click the Folder button to select a folder to save your video files.
- Type a file prefix in the edit box. WormLab adds this to the beginning of the file name of each video file you capture.
Do not use slashes ( / or \ ) in the prefix.
- Optional: Select Capture parameters.
- Duration (hours:min:sec): Set the duration of your recording.
- Time-lapse: Set the recording interval in seconds (between 0.25 sec and 3,600 sec).
- Check Open video after recording to load the recorded view in WormLab immediately after ending the recording.
- Press Record to start recording. Press Stop to stop recording.
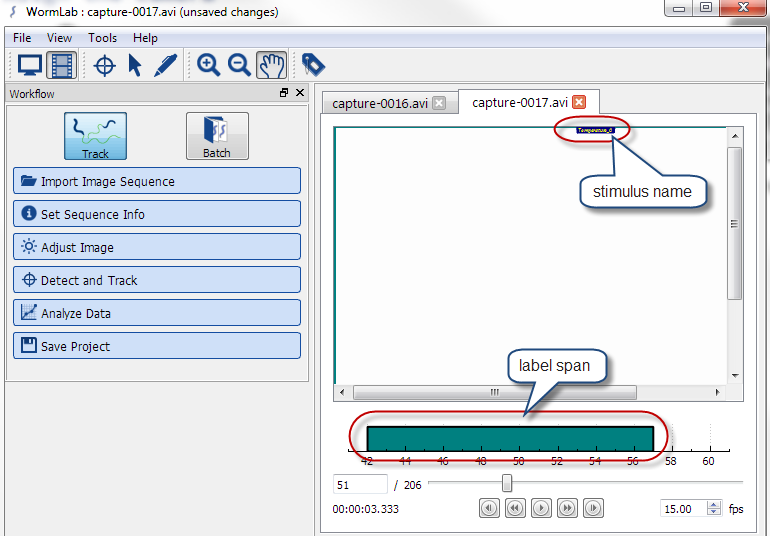
Capturing a video with stimuli
We provide hardware for light (white, red, blue, green) and mechanical (tapper) stimuli. There is also the opportunity to design complex stimulus patterns prior to the video capture.
- In the Capture tab, check Show stimulus controls.
- In the Controls window, select the appropriate tabs to enable a stimulus or adjust its settings.
- Keep the Stimulus controls window open; return to the Capture tab (Video Capture window) and click Record.
WormLab automatically creates labels corresponding to the periods of time during which stimuli were used.

Taking a snapshot during the video capture
Click Snapshot.
- The snapshot is saved with the same file name prefix, but with a different extension (.PNG or .TIFF) and numbering system.
- The snapshot is displayed temporarily under the Capture tab; it doesn't open in the Main window.